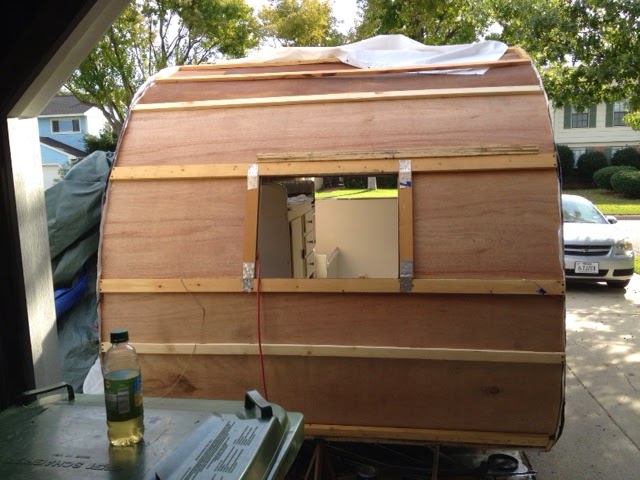
I equate restoring one of these beauties with peeling a hard boiled egg. First, you need to peel the shell, then take off the white to get to the yolk. It is labor intensive, but if yours has as much mold as mine did, then it is necessary and the easiest way to replace all the interior paneling.
So using those handy tools I told you about, start removing the drip (or "J") rail, and any windows that are in the way of removing the aluminum skin. after removing the million screws/nails holding the front/top/back skin on, gently move it out of your way. Before removing any frame, use a permanent marker to note their location in the sides of the trailer.


These notes will help when it is time to reassemble everything. (Also, DO NOT throw anything away, at least until you know you are done with that piece.) Removed pieces will be your template for new, and some items are IMPOSSIBLE to replace.
I'm getting a little ahead with these next photos, but I wanted to show how those marking would be used later during reconstruction.
 |
| Rear view showing new interior wood paneling and wood framing. (not shown: "curbing at outside edge) |
When removing the interior paneling, remove and replace each piece one at a time. This will help your trailer remain "square" and insure that the removed skin will still fit!
 |
| Curbing in place, support for tail lights and insulation installed |

Vapor barrier on top of insulation
I you are rebuilding or replacing any interior paneling on the side walls, remove any cabinets, or replace the floor you will need to leave the front end and back end open until all the interior work is complete.
Happy Glamping!


No comments:
Post a Comment